
Understanding Dental Implants Before and After
Before dental implants, your dentist evaluates bone, gums, bite, and overall health to build a safe plan. After placement, the implant heals in bone, then a custom crown restores chewing and appearance. This overview of implants before and after helps you set expectations and plan your timeline.
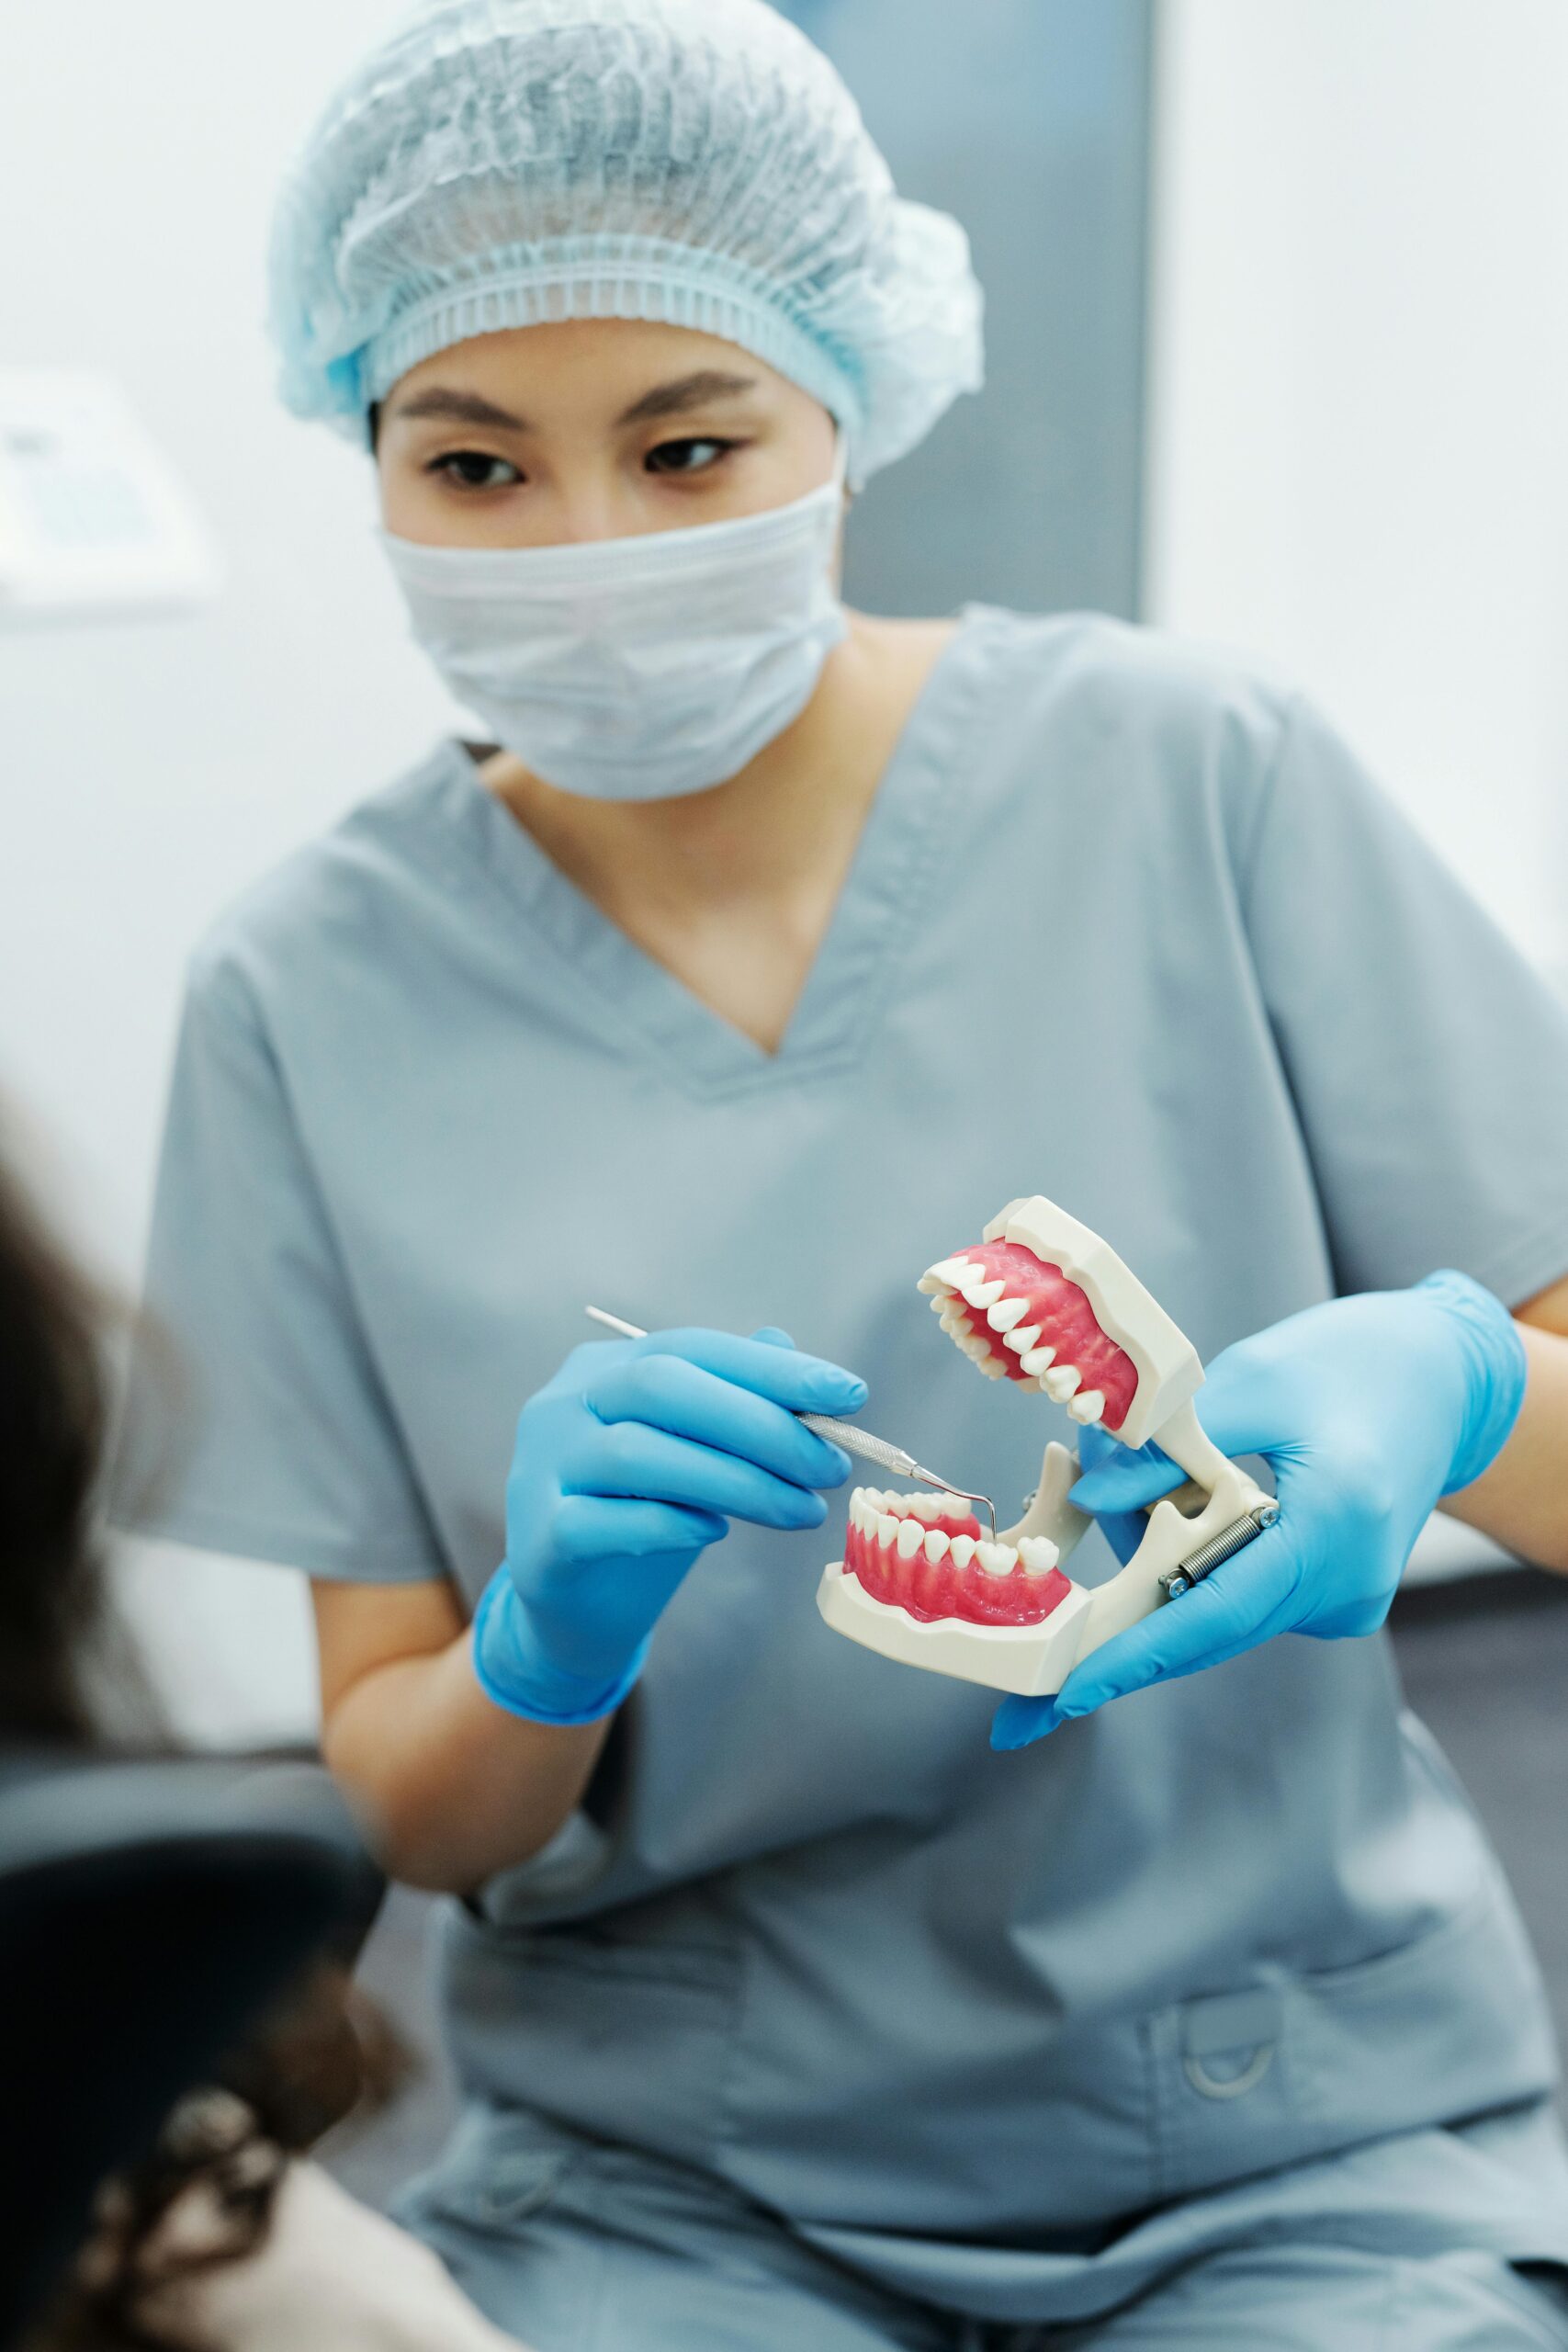
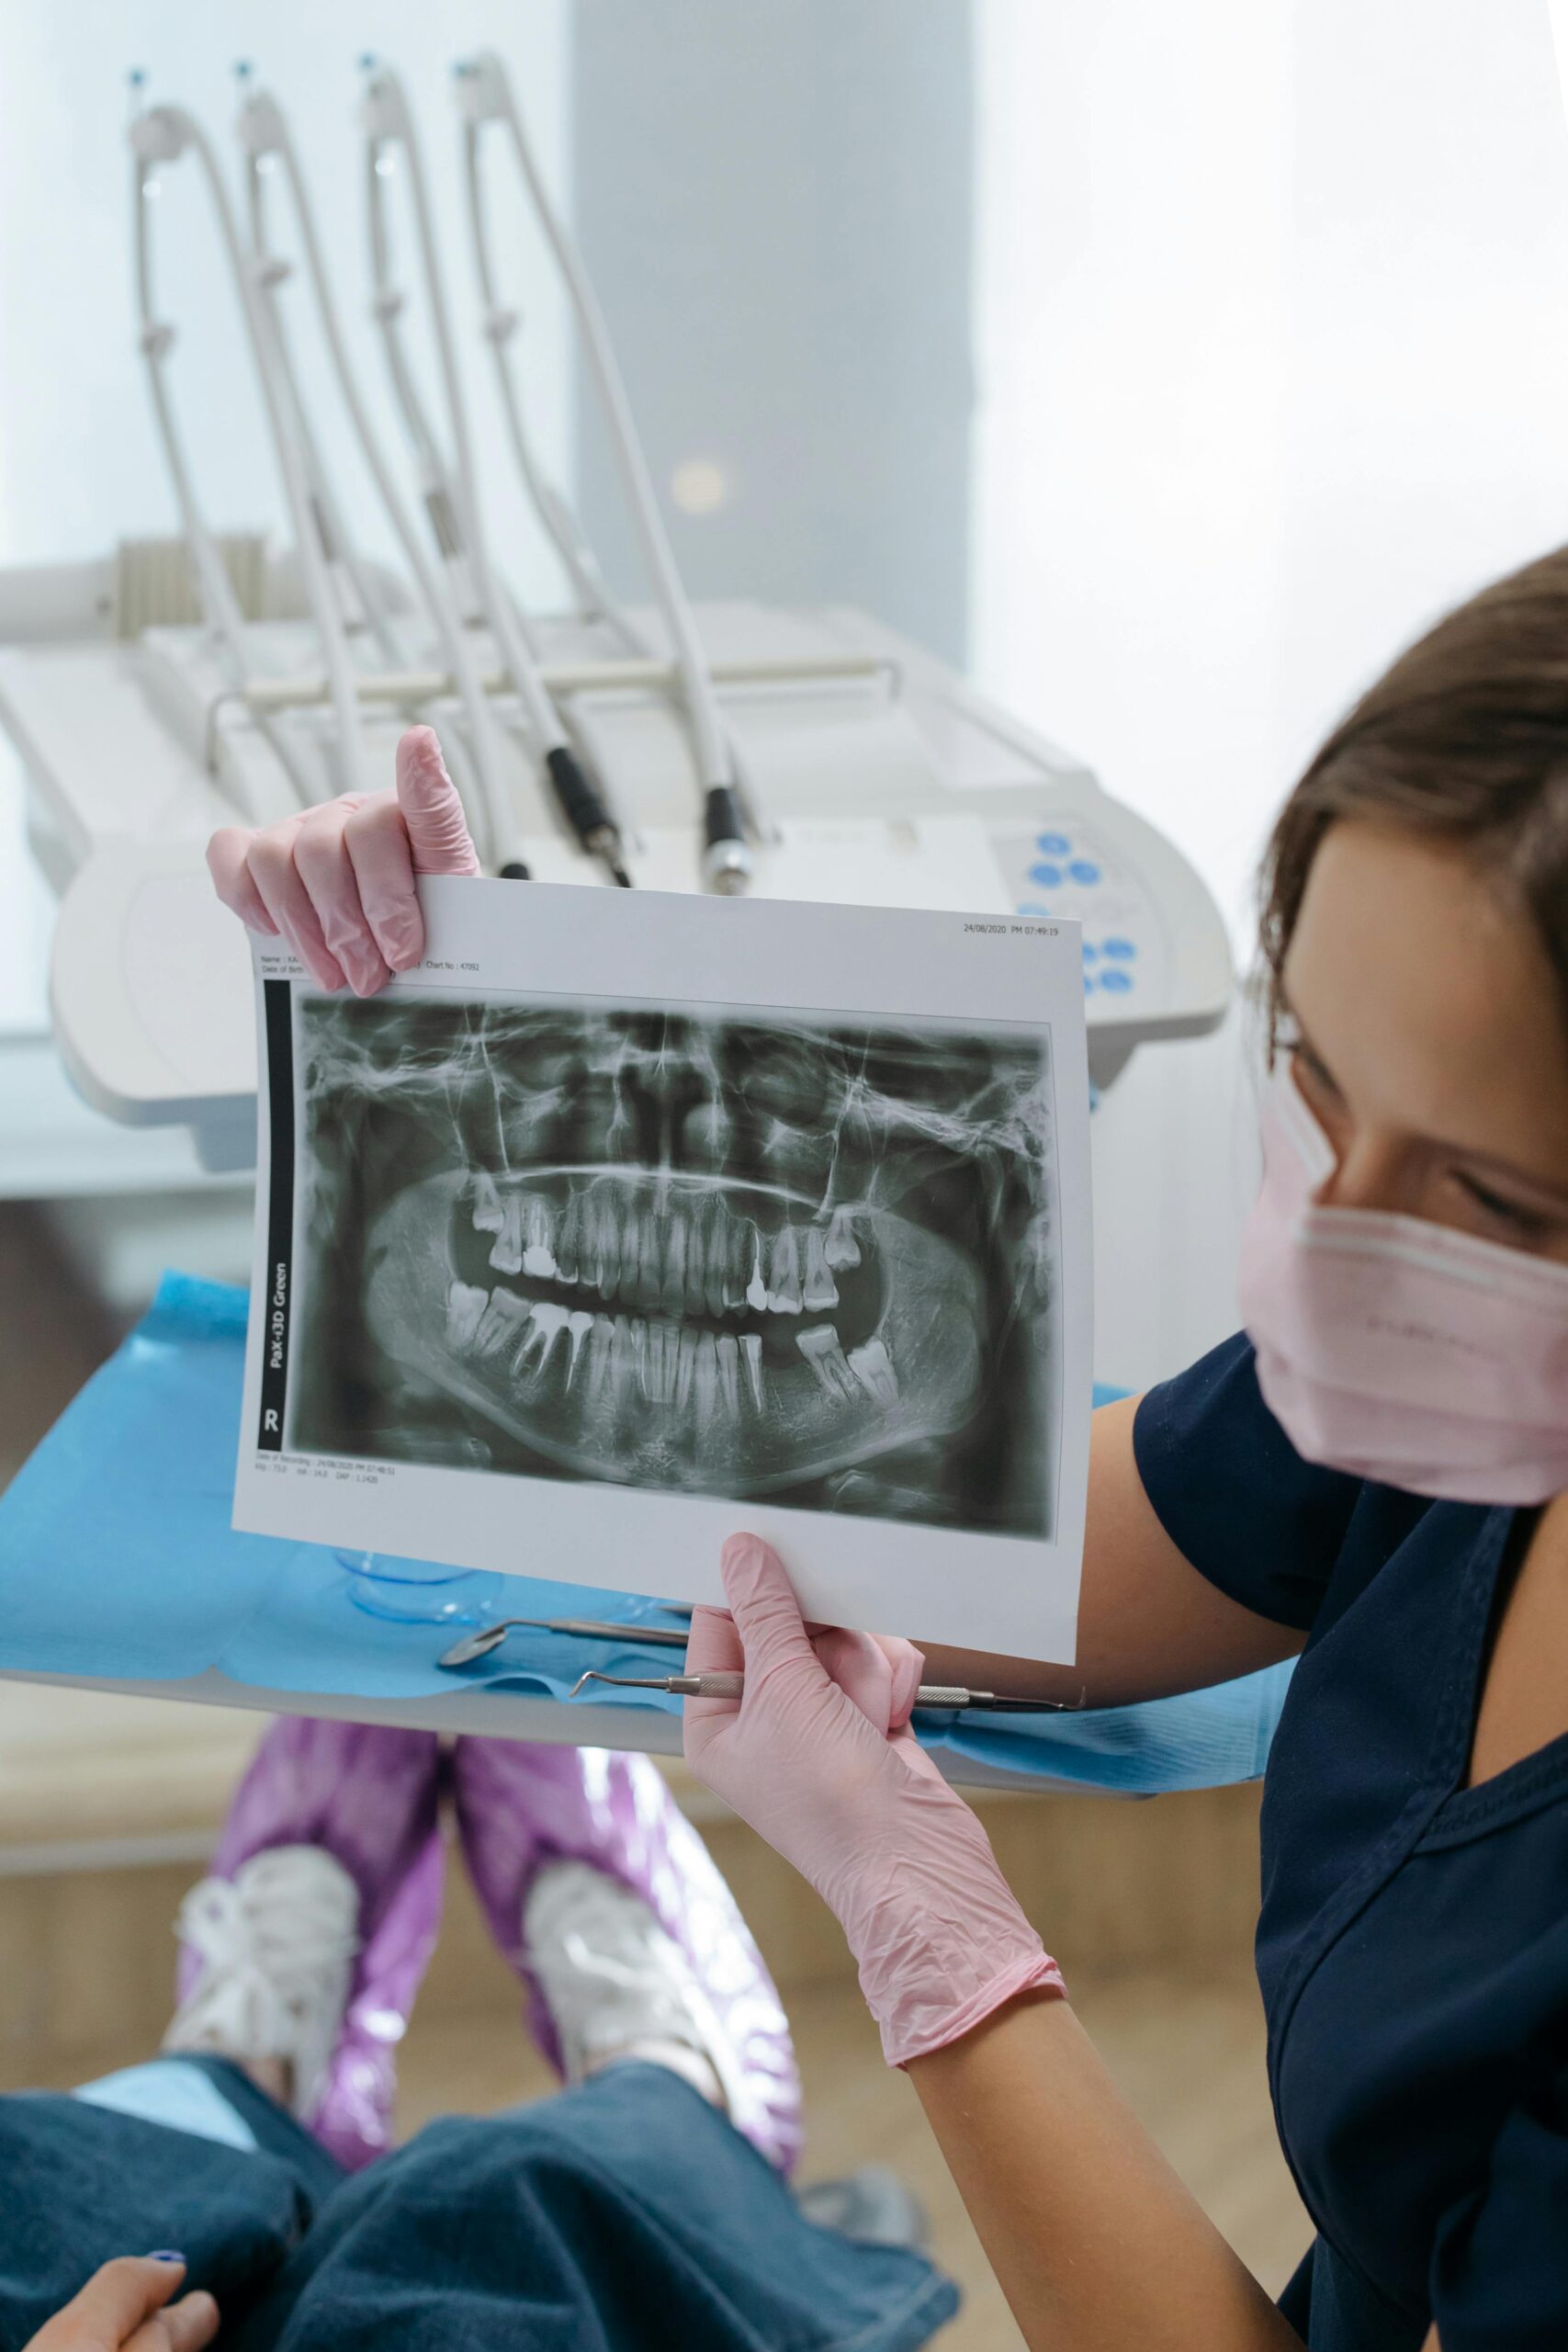
You lost a molar last year and want a fixed replacement. The “before” phase often includes 3D imaging, a gum and cavity check, and a review of medications and habits like smoking. Implant size and position are chosen to balance forces and protect bone; length and diameter influence stress distribution in the surrounding jaw. Careful selection lowers overload on bone during chewing [1].
The “after” phase focuses on healing, integration, and maintenance. Most patients have mild swelling or soreness that settles in a few days. Daily brushing, interdental cleaning, and regular professional care are essential, because biofilm drives peri‑implant mucositis and peri‑implantitis, and the microbes overlap with those in periodontitis [2]. In certain cases, clinicians may add platelet‑rich fibrin around the implant to support soft‑tissue outcomes, based on emerging systematic evidence [3].
Sometimes bone grafting is needed to create a stable foundation. Approaches vary, and patient‑reported outcomes can differ between bone block augmentation and guided bone regeneration, so planning is individualized [4]. If you are weighing fixed versus removable options, see our comparison of implants and dentures.
For scheduling or quick questions, check our current hours. Thoughtful planning before surgery supports a smoother recovery and lasting function.
What to Expect from Implant Transformations
Implant transformations change how your smile looks, feels, and functions. Expect a staged process with a temporary tooth or bridge first, then a custom final restoration. Most people notice steadier chewing and more natural lip support once the final teeth are placed.
On day one with your new tooth, you test your bite on toast. For a single front tooth, a temporary crown often shapes the gum line so the final crown blends with nearby teeth. For multi-tooth or full-arch cases, a provisional bridge lets you speak, smile, and eat soft foods while tissues settle. If you are exploring full-arch options, see our overview of All-on-4 dental implants for how immediate teeth and final materials differ.
Because implants are fixed in bone, they feel solid, yet they transmit bite forces differently than natural roots. Your dentist will fine-tune contacts so chewing loads are even. Color and shape are planned to your face and adjacent teeth, and the gum contour is guided by the crown’s emergence profile. Transitional steps help your mouth adapt before the final set is made.
- Chewing: often more balanced, with fewer “do-not-bite” zones.
- Speech: S and F sounds may need brief practice with new tooth shapes.
- Smile line: lip support and tooth display are designed to your goals.
- Gum appearance: contours mature as tissues adapt around the crown.
- Follow-ups: small bite tweaks keep forces comfortable and even.
Expect periodic checks for the bite, the screw-joint, and the surrounding tissues. Nighttime grinding, diet, and home care can influence long-term results, so your plan may include a night guard or specific cleaning tools. Photos of implants before and after can show progress, but your best guide is how well you chew, speak, and smile. Joint care between dental and medical teams helps sustain long-term wellness.
Before Treatment: The Initial Dental Condition
Before implant treatment, your dentist documents the current state of your mouth. That includes the tooth or space to be replaced, the health of nearby teeth and gums, and the shape of the jaw ridge. This baseline directs whether any care is needed first, so the implant has a healthy foundation. Clear records also help predict comfort, timing, and long-term success.
You have a cracked premolar and swelling around an old filling. Active infections, such as a draining abscess or a retained root tip, are treated and allowed to settle before placing an implant. Gum tissues are checked for bleeding, pocket depths, and recession, because inflamed or thin tissues can raise future risk. If you are unsure how gum conditions progress, see our overview of gum disease stages. Caries risk, old restorations, and the health of adjacent teeth matter too, since neighboring problems can spread or complicate healing.
The jaw ridge is examined for width, height, and contour at the missing site. Soft-tissue thickness and the amount of firm, keratinized gum are noted, since these features influence cleaning access and comfort. Space to neighboring teeth and the opposing bite is measured to ensure the final crown will fit and function. Mouth opening, saliva quality, and tongue posture are also observed, because dryness or limited access can affect hygiene and recovery.
Your bite and jaw habits complete the picture. Signs of grinding, uneven wear, or sore jaw joints suggest that forces may need to be balanced before or as the implant is restored. This initial condition guides the plan for extractions, gum therapy, a temporary tooth, and the timing of implant placement. Photos of implants before and after can look dramatic, but the starting point sets the roadmap and pace. When conditions are stabilized early, implants tend to function more comfortably.
After Treatment: Stunning Implant Results
After treatment, well‑planned implants look natural, chew comfortably, and feel steady. The gum line frames the new tooth, speech sounds settle, and the bite feels even. Most people notice less favoring of one side and more confidence with daily meals.
First dinner out, you forget which tooth was replaced. Early on, tissues continue to mature around the crown and the bite gets fine‑tuned. Because implants do not have the same nerve feedback as natural roots, careful bite adjustments spread chewing forces so things feel balanced. The crown’s shape at the gum helps you clean easily, which supports healthy, calm tissues. Follow‑up visits check the screw joint, confirm the crown is stable, and review your home‑care technique so results stay consistent.
At home, use small interdental brushes or floss tools to sweep under and around the crown. A soft brush, gentle pressure, and routine cleanings reduce plaque and food traps. If you clench or grind, a night guard can protect both the implant and nearby teeth. For simple routines that protect your new smile, see our dental hygiene best practices. Comparing implants before and after can be motivating, but day‑to‑day comfort and clean gums matter most. When restored thoughtfully, improved chewing can transform daily comfort.
Meet with our team to plan the right implant option and timeline.
A confident smile starts with a single consultation.
Exploring Implant Case Photos
Implant case photos show how teeth, gums, and bite evolve through treatment. They help you compare the starting condition, the healing phase, and the final result. When you review implants before and after, look for consistent angles and lighting so differences are meaningful.
You scroll through smile galleries on your phone before a consult. Start with the straight-on smile, then check retracted views that reveal gum contours and how the crown meets the tissue. Healthy results usually show calm, pink tissues, even scallops, and contact points that support the small triangles of gum between teeth. Side views can reveal lip support and the length of front teeth; occlusal shots show how the biting edges align.
Time stamps matter. Early photos may include swelling or a temporary crown, while later images show how tissues settle and polish lines disappear. Color balance can be tricky, so judge shade matching in multiple views, not a single shot. For front teeth, look at the midline and incisal edge position relative to the lip when smiling and speaking. For molars, evaluate how the chewing surface shape shares load with neighbors rather than standing high or low.
Full-arch cases look different from single-tooth work. In full-arch photos, note symmetry from canine to canine, the smile line compared to the lower lip, and whether speech sounds appear natural during video clips if available. In single-tooth cases, focus on gum height next to the neighbors and whether light reflects similarly across crowns and natural teeth. If you are comparing galleries to plan scope and timeline, reviewing costs and financing for dental implants can also help you frame options. Bring a few examples you like to your visit so we can explain what is achievable for your mouth.
Case photos are guides, not guarantees, because bone, gums, and bite differ for everyone. Use them to clarify goals and questions, then pair that with an exam and a clear plan. Prompt evaluation supports durable function and healthy tissues.
Full Mouth Before and After Implants
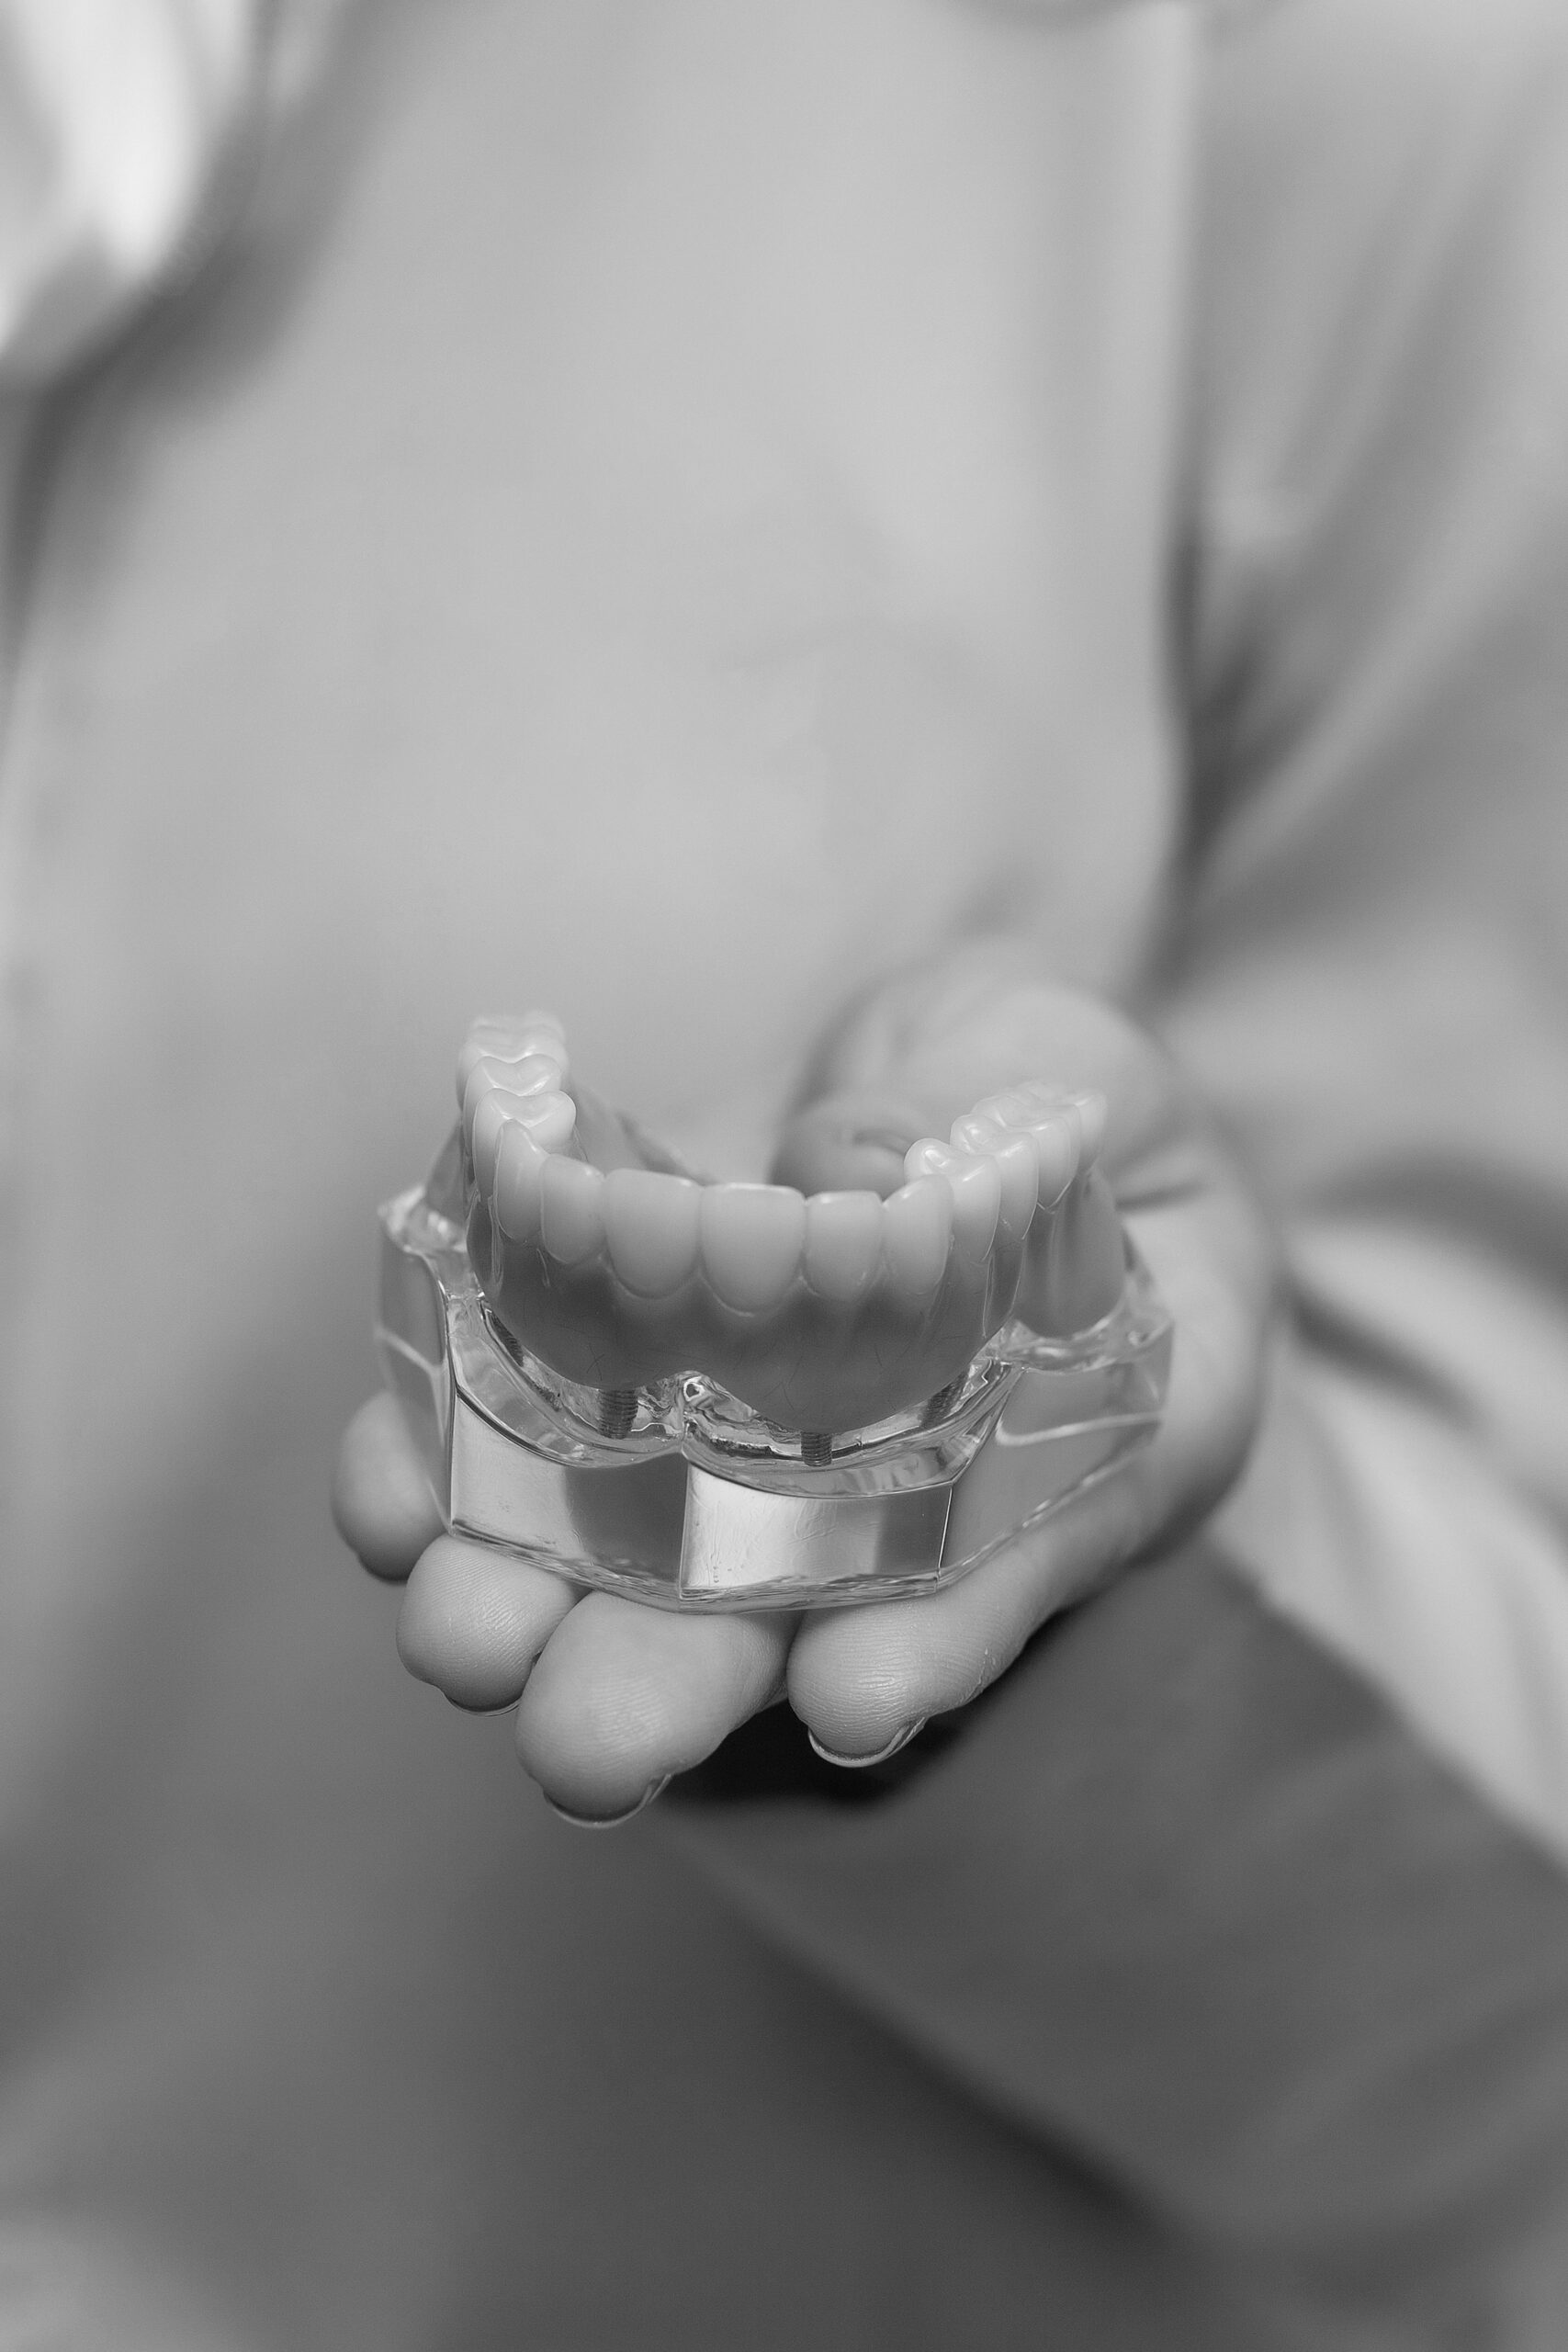
Full mouth treatment replaces all teeth in the upper, lower, or both arches with implant‑supported teeth. Before treatment, we map extractions, evaluate bone and gums, and design the bite and smile. After treatment, you transition to a stable set of teeth that restore chewing, speech, and facial support.
You arrive with several loose teeth and a broken bridge. Planning starts with creating space and support for the final prosthesis, often by shaping the jaw ridge to allow proper tooth position and easy cleaning. When teeth are removed, preserving or rebuilding the ridge helps maintain bone volume for future implant placement [5]. In selected cases with strong initial stability, immediate loading can perform similarly to delayed loading, but only when the case meets strict criteria [6].
In the upper jaw, limited bone height under the sinus may require a sinus lift to make room for implants; contemporary techniques can safely increase available height for placement when indicated [7]. The “after” phase focuses on bite balance, speech clarity, and gum health around the bridge. The vertical dimension and midline are set to support your face and joints, then adjusted until chewing feels even on both sides. For longer visits or combined procedures, see how we approach sedation safety standards.
Daily care shifts slightly with full‑arch bridges. You will clean under the prosthesis with threaders or small brushes, and your hygienist will review techniques that fit your hands and schedule. Maintenance visits check implant stability, the screw joints, and tissue health so small issues do not become larger ones. Photos of implants before and after can show the smile change, but comfort, function, and clean tissues are the real measure of success. Planned steps make full‑arch care more predictable over time.
Common Challenges with Implants Before After
Common challenges include planning limits before surgery and maintenance issues after healing. Before treatment, bone shape, gum thickness, and bite forces can constrain where an implant fits. After placement, patients sometimes face bite adjustments, tissue inflammation, or screw‑joint loosening. Knowing these ahead of time helps you set realistic expectations for implants before and after.
On the “before” side, timing is a frequent hurdle. If a tooth was lost months ago, the ridge may have narrowed, which can change the position or size of the planned implant. Thin or delicate gums can also complicate esthetics at front teeth by exposing crown margins if not addressed. Medical factors like smoking or poor sugar control can slow healing, so your dentist may pause until conditions improve. Accurate records reduce surprises and keep the sequence predictable.
Early “after” issues are usually temporary. Swelling, mild bruising, and tenderness often fade within days. A common practical challenge is bite fine‑tuning, since implants lack the same nerve feedback as natural teeth. If a contact is slightly high, it can create soreness or wear until adjusted. In some cases, the small screw that holds a crown to the implant can loosen, felt as a faint click when chewing; your dentist can retighten it. Food trapping around the crown can irritate the gums if cleaning tools are not matched to the space. Mucositis, the earliest gum inflammation around an implant, is reversible with improved hygiene and professional care.
Nighttime clenching is another factor that can overload parts or chip porcelain. If you notice morning jaw fatigue or wear facets on teeth, ask about custom night guards to spread forces. On day three, you notice a small click when chewing. Call for an evaluation if you feel looseness, persistent swelling, or bleeding that does not settle. Small adjustments and clear home‑care steps usually resolve these issues quickly.
Seen in this light, challenges are checkpoints, not setbacks. Timely follow‑ups, good cleaning access, and balanced forces protect your long‑term result. Prompt attention to small changes supports long‑term implant health.
The Journey of Implant Transformations
The journey moves from planning, to placement, to a custom restoration, then maintenance. Each step builds on the last so your bite, speech, and smile improve in a predictable way. Photos of implants before and after show the change, but the process is guided by exams and goals.
Your first visit sets the roadmap. We clarify what you want from chewing, speech, and appearance, then record measurements that guide tooth position and gum contours. Scans and models help us preview the bite and plan temporary versus final teeth. We also sequence any needed extra care, like removing failing teeth or shaping tissue, so healing supports the final result. If budgeting is part of your planning, review our guide to costs, options, and financing as you consider timelines.
On surgery day, comfort steps and a clear after‑care plan keep the first week manageable. Early meals stay soft, and the focus is on clean, calm gums while the implant bonds with bone. Provisional teeth protect healing areas and let us shape the gumline for the final crown or bridge. Three months in, you bite an apple without thinking about it. When integration is confirmed, we take precise records for the final restoration so color, shape, and bite feel natural.
After delivery, the transformation is about function and upkeep. We fine‑tune contacts, confirm easy cleaning access, and review tools that fit your hands and schedule. Follow‑ups check tissue health and the tiny screw joint inside the crown so everything stays stable over time. This stepwise path turns a plan on paper into everyday comfort at meals and in conversation. Coordinated care often leads to steadier days and calmer nights.
Comparing Smile Gallery Implants
To compare smile gallery implants well, look past dramatic lighting and angles. Focus on tissue health, tooth harmony, and whether the results look stable over time. Fair comparisons use similar case types, similar time points, and consistent photography.
You compare two galleries on your phone during lunch. For single‑tooth cases, study the gumline around the implant. Healthy pink tissue that hugs the crown, with no gray shadow at the margin, signals good support. The highest point of each front tooth’s gum (the zenith) should sit symmetrically, and the small triangles of gum between teeth should be full rather than dark gaps. In close‑ups, look for natural surface texture, subtle translucency at the edges, and light reflections that match neighboring teeth. Strong galleries include follow‑ups at 6–12 months so you can see if gum height and shade matching remain consistent.
For multi‑tooth or full‑arch work, compare the smile curve to the lower lip, the midline in relation to facial features, and whether the back teeth fill the corners of the smile without looking bulky. A level chewing plane that matches facial posture usually reads as natural. Retracted views can reveal the “emergence” of the teeth from the gums; smooth, cleanable contours are easier to maintain than over‑bulked shapes. If a gallery shows x‑rays, stable bone levels around the implant neck at later visits suggest steady support. Bite markings on provisionals may also appear; even contacts across both sides point toward balanced chewing.
Be cautious with filters and heavy retouching, which can hide texture or wash out gum color. Magnification can make small color differences look larger than they are in real life, so review both close and conversational distance photos. When you compare implants before and after images, aim for apples‑to‑apples: match tooth location, starting condition, and time in service. Bring a few examples you like to your visit, and your dentist can explain which features are achievable for your mouth and timeline. When you evaluate results this way, you can set clear goals and choose a plan that fits.
Assessing Long-term Implant Results
Long-term implant results are judged by stable function, healthy tissues, and minimal repairs over time. Beyond photos, we compare today’s findings with your baseline records to confirm steady bone support, cleanable contours, and a comfortable bite. In short, success shows up as predictable chewing, quiet gums, and a crown or bridge that stays secure.
At your 2-year visit, we compare new x-rays with your baseline. Small changes early can be normal, but bone levels should then remain steady. Around the implant, healthy tissues do not bleed easily, are not tender, and allow gentle cleaning without snagging. We also note the width of firm gum tissue, as this often makes daily hygiene more comfortable and sustainable. Because of this, we track your home-care fit, selecting tools that match the spaces under and around the restoration.
Function matters as much as appearance. A reliable implant feels solid during meals, without clicking or hot-cold sensitivity from the restored tooth. Your bite should mark evenly on both sides so the implant is not the “high spot.” Over years, natural teeth can shift or wear, so the occlusion may need small adjustments to keep loads shared. For full-arch bridges, we also watch for wear of the chewing surfaces and keep the underside cleanable to protect the tissues.
Prosthetic stability is another checkpoint. A well-fitted crown or bridge stays tight at the screw joint, with no rotation when you bite firmly. If you ever notice a new vibration, a chip, or a food trap that is hard to clean, it is worth a prompt check. Early signs of trouble include bleeding when brushing, swelling that lingers, or a bad taste near the implant. Timely visits let us fix small issues before they affect comfort or bone support.
When you review implants before and after images, pair them with these clinical markers. Clear records and steady maintenance keep results predictable year after year. When maintained well, improved chewing can last for years.
Frequently Asked Questions
Here are quick answers to common questions people have about Dental Implants Before & After in Glendale, AZ.
- What are some common side effects after dental implant surgery?
After dental implant surgery, you may experience mild swelling, soreness, or bruising around the implant site. These symptoms typically settle within a few days. It’s also common to have some facial swelling or slight bleeding in the first 24 hours. Managing these side effects with over-the-counter pain medications and ice packs is usually effective. If symptoms persist or worsen, a follow-up visit with your dentist is advisable to ensure recovery is on track.
- How should I prepare for dental implant surgery?
Preparation for dental implant surgery includes a full dental evaluation, reviewing medical history, and possibly taking 3D images of your jaw. Avoid smoking, as it can impair healing, and follow any specific pre-op instructions your dentist provides, such as fasting if you’re having sedation. Planning the timing of your surgery is also important to allow for a smooth recovery period. These steps help ensure a more predictable and successful implant process.
- Are dental implants a good option for missing front teeth?
Dental implants are an excellent option for replacing missing front teeth because they look and feel like natural teeth. Implants support the gum line aesthetically and functionally, allowing for a natural appearance when you smile or speak. Your dentist will carefully plan the implant placement to match the shape and shade of your natural teeth, ensuring seamless integration into your existing smile. Consult your dentist to confirm if implants are suitable for your specific needs.
- What should I avoid eating immediately after getting dental implants?
In the first few days after getting dental implants, it is best to avoid hard, crunchy, or chewy foods that can disturb the implant site. Stick to soft foods like yogurt, applesauce, mashed potatoes, and smoothies. Drinking through a straw should also be avoided, as it can create pressure in the healing area. Gradually reintroduce more textured foods based on your comfort level and your dentist’s advice to ensure proper healing.
- Why are regular follow-up visits important after dental implants?
Regular follow-up visits after dental implants are crucial for monitoring the healing process, ensuring the implants integrate well with the jawbone, and checking that the bite remains even. These visits allow your dentist to make any necessary adjustments to the crown or bridge and to ensure that your oral hygiene routine is effective in preventing issues such as mucositis or peri-implantitis. Consistent care and early intervention can help maintain your implants and overall oral health in the long term.
References
- [1] Finite Element Analysis (FEA) for Influence of Variation in Dental Implant Dimensions (Length and Diameter) on Peri-implant Bone Stress/Strain Distribution: A Systematic Review. (2025) — PubMed:39867800 / DOI: 10.12669/pjms.41.1.8991
- [2] Microbiological Profile in Periodontitis and Peri-Implantitis: A Systematic Review. (2022) — PubMed:36017930 / DOI: 10.1615/JLongTermEffMedImplants.2022043121
- [3] Does platelet-rich fibrin enhance the outcomes of peri-implant soft tissues? A systematic review. (2025) — PubMed:40264081 / DOI: 10.1186/s12903-025-05922-6
- [4] Patient-Reported Outcomes in Intraoral Bone Block Augmentation Compared to GBR Procedures Prior to Implant Placement: A Systematic Review. (2025) — PubMed:40806953 / DOI: 10.3390/jcm14155331
- [5] Bone envelope for implant placement after alveolar ridge preservation: a systematic review and meta-analysis. (2022) — PubMed:36477662 / DOI: 10.1186/s40729-022-00453-z
- [6] Comparing success of immediate versus delay loading of implants in fresh sockets: a systematic review and meta-analysis. (2022) — PubMed:34251545 / DOI: 10.1007/s10006-021-00983-7
- [7] Endoscope-controlled maxillary sinus floor elevation: a review of the literature. (2022) — PubMed:34991905 / DOI: 10.1016/j.bjoms.2021.04.007